HERE’S THE first video tutorial I made for my third year students. I asked them to create maps using Google Maps and they will describe their trip home with kinematics.
I made a short (less than five minutes) tutorial video and here it is:
Creating Your Own Map
To create you own map, you must have a Google Account. If you have an account on Blogger, YouTube, and other Google products, you may use it to log in to Google Maps.
Once you are logged in on Google Maps, change your default location to Alabel, Sarangani, so you wouldn’t need to scan the whole map of the world to look for our humble town.
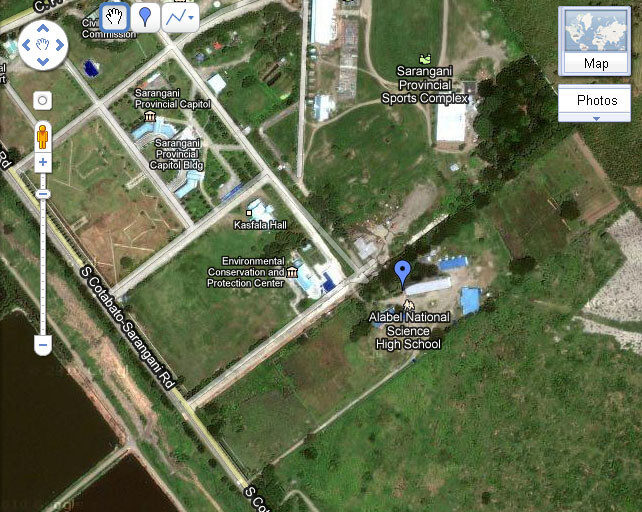
You may change how the Map will look like. You can toggle between Satellite View and Map View. In the video, I used Map View; the photo below is in Satellite View. You may use Satellite View if you like.
You may zoom in and zoom out by using your mouse roller or using the zoom tool. You may also zoom in by double-clicking on a particular location.
Click on My Places and then Create a Map. Start at the ANSHS Campus; add a placemarker there.
Draw a line from our school to your house. Take extra care in drawing the line. Clicking once allows you to add an anchor point and allows you to turn around corners. Double-clicking puts an end to the line. As much as possible, you would want to create a long, continuous line. Be a patient. You may edit the line later by moving the anchor points.
Clicking on the line afterwards will give you the total length in miles. You can convert it to metric units using Google Search as in the video. Take note of the result.
Make sure you post the link in our forum on The ANSHS e-Portal as instructed. Good luck in creating your own map with Google Maps.


I think I can use this method of teaching from now on. The kids said they like it. Hmmm….